
Through careful measurement of the anti-static tray, we can fully grasp its electrostatic protection performance and accurately evaluate whether it meets the compliance requirements of ESD control items and materials. This not only provides strong data support for the production and use of anti-static pallets, but also lays a solid foundation for the implementation and optimization of electrostatic discharge control schemes, and further guarantees the safety and quality of electronic components.
The importance of anti-static tray point-to-point resistance measurement:
Point-to-point resistance measurement can ensure that the resistance value inside and on the surface of the anti-static tray is within the specified range, thereby effectively preventing the accumulation of static electricity inside or on the surface of the tray. For electrostatic sensitive items such as electronic components and semiconductor chips, electrostatic accumulation may cause damage or performance degradation. By measuring the point-to-point resistance, you can ensure that these items are in a safe electrostatic environment during transportation and storage.
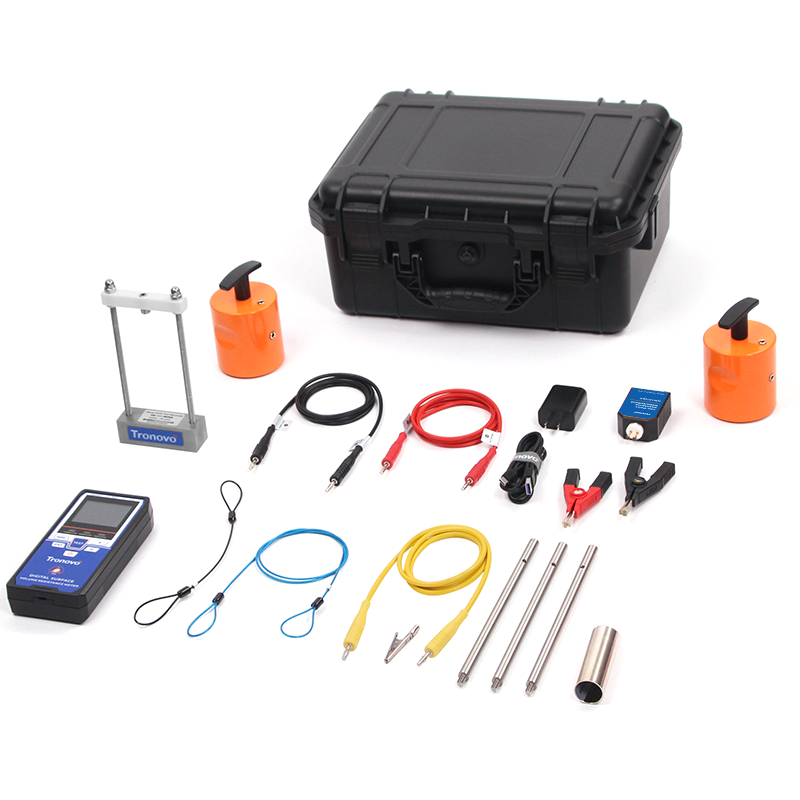
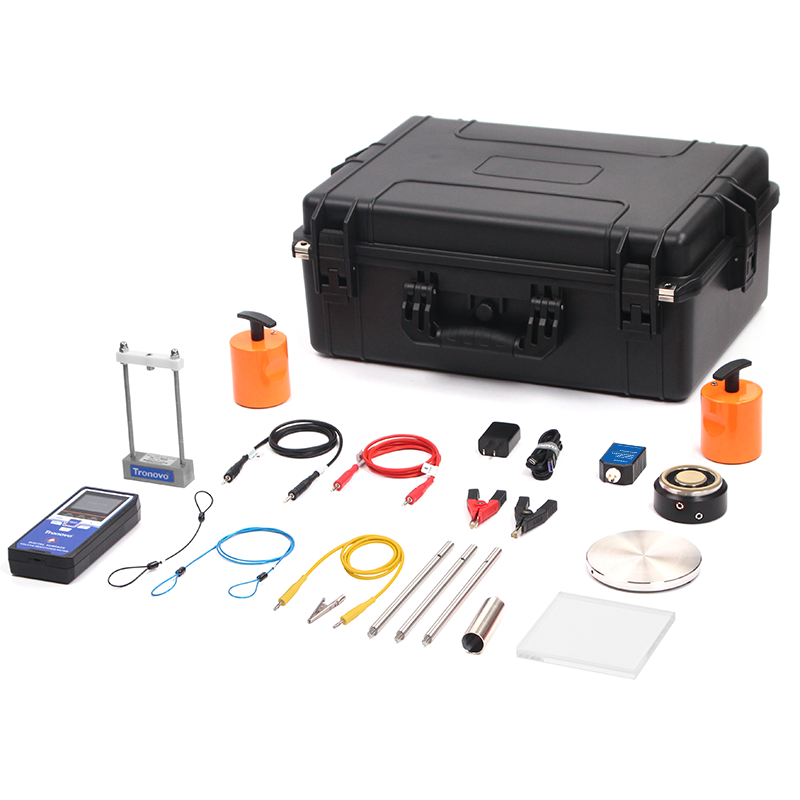
Prepare items before testing:
1. Anti-static tray
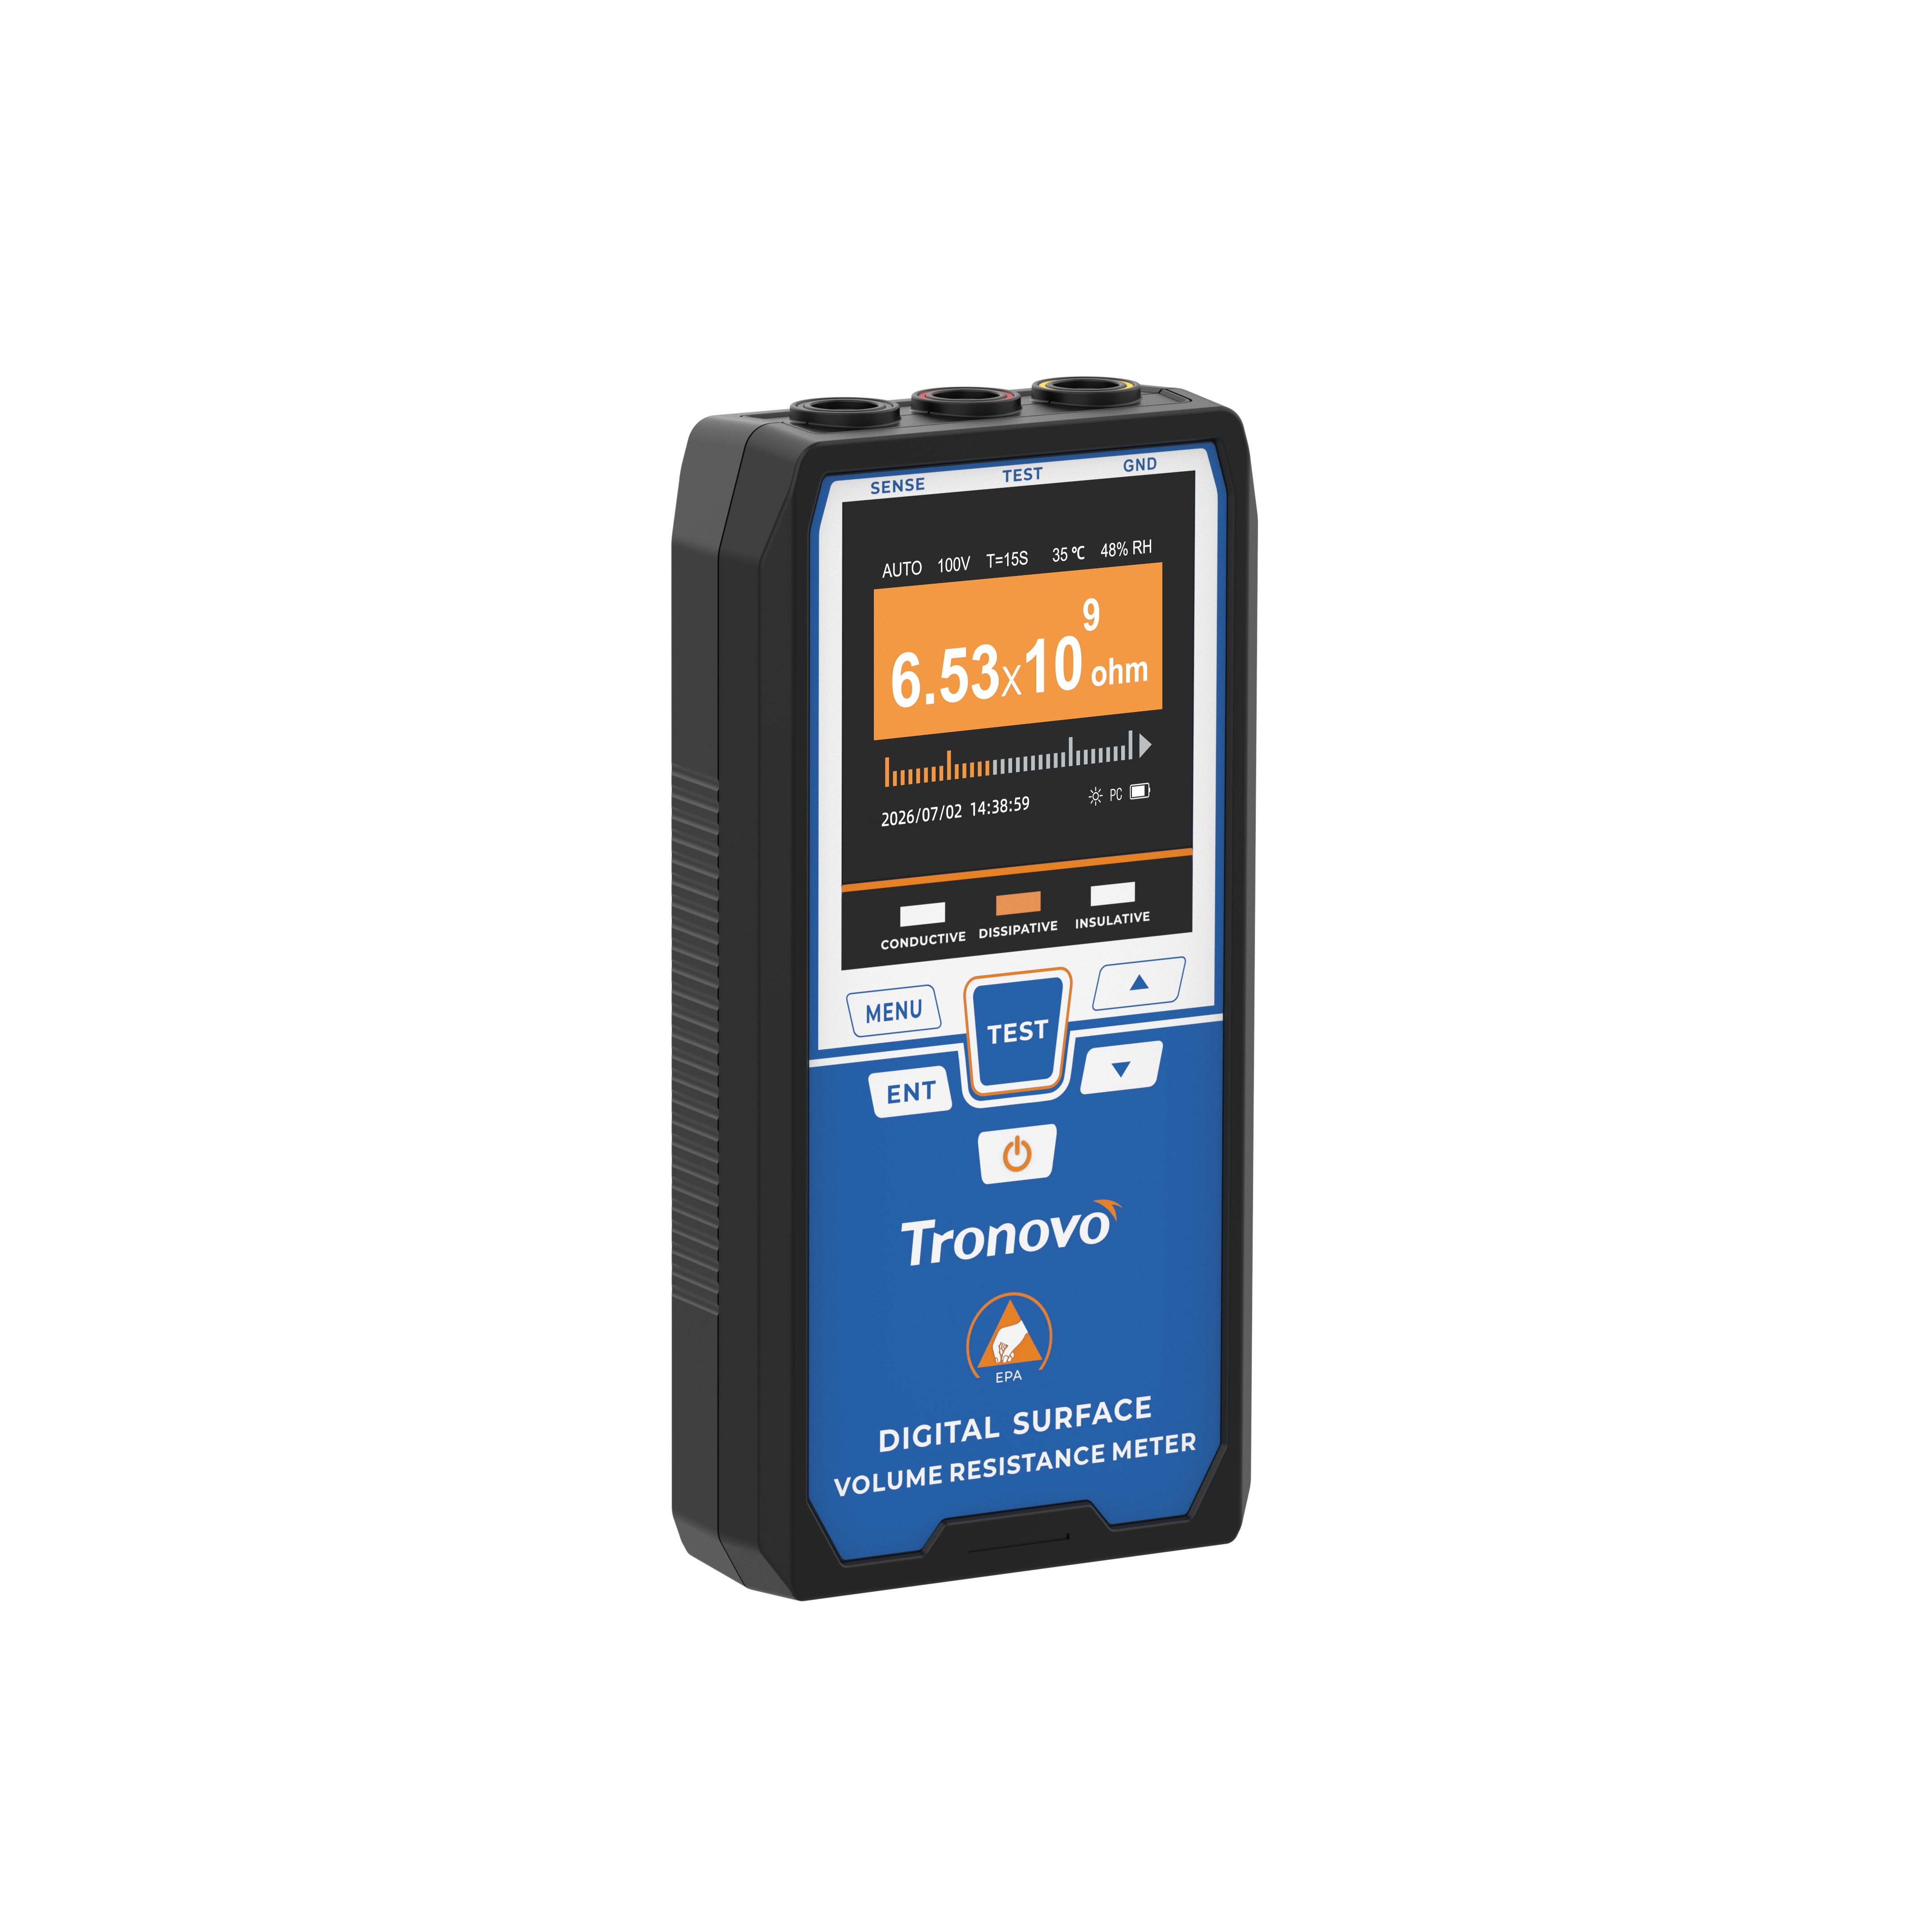
2.TM5402 surface resistance tester
3. Pen-type two-point probe
4. Clamp-shaped electrode
5. Insulating supporting surface


Test requirements:
Anti-static tray two-point resistance <1.0 × 10⁹ ohms
Method 1 (two-point probe) test procedure:
1. Connect one end of the first test wire to the negative terminal (-) of the TM5402 surface resistance measuring instrument, and connect the other end of the test wire to the negative terminal (-) of the two-point probe assembly.
2. Connect one end of the second test lead to the positive terminal of the TM5402 surface resistance meter (+), and connect the other end of the test lead to the positive terminal of the two-point probe assembly (+).
3. Place the two-point probe assembly on the tray area to be verified.
4. Apply a downward force on the two-point probe assembly connected to the spring-loaded electrode, sufficient to complete the electrical connection.
5. Set the TM5402 test time to 15 seconds, press the TEST button, wait for the countdown to end, and record the resistance value.
6. Verify the following:
√ The two-point resistance meets the requirements.

Method 2 (clamp electrode) test procedure:
1. Connect one end of the first test wire to the negative terminal (-) of the TM5402 surface resistance measuring instrument, and connect the other end of the test wire to one end of the black clamp electrode (-).
2. Connect one end of the second test lead to the positive terminal of the TM5402 surface resistance meter (+), and connect the other end of the test lead to one end of the red clamp electrode (+).
3. Clamp the ends of the packaging area to be verified with a clamp-on electrode.
4. Set the TM5402 test time to 15 seconds, press the TEST button, wait for the countdown to end, and record the resistance value.
5. Verify the following:
√ The two-point resistance meets the requirements.

At a minimum, the test report should include the following information:
Date and time of the test, description and identification of the supplementary material tested
Identification of the instrument used for temperature and relative humidity during the measurement period and the date of the most recent calibration.
Compliance of the measurement results with the conditions specified by the EPA, as referenced in the following standards:
IEC 61340-5-1 International Standard for the Certification of Antistatic / IEC International Electrotechnical Commission
ANSI/ESD S20.20 American National Standard/Electrostatic Discharge Association Standard